 https://www.foreo.com Introduction
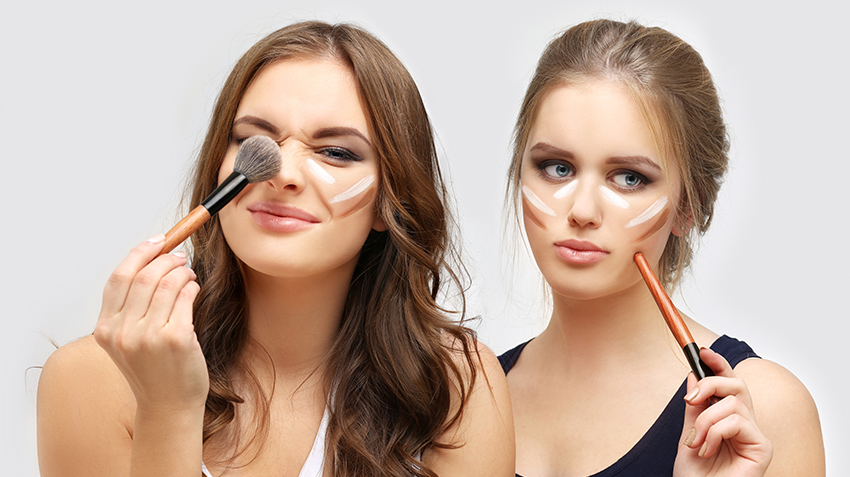
Contouring and highlighting are like magic tricks of the makeup world, transforming your facial features and enhancing your natural beauty. When executed skillfully, they can sculpt your face, accentuating your best features and creating a stunning, radiant look. In this article, we'll delve into the art of facial contouring and highlighting, providing you with the techniques and tips to achieve a flawless, chiseled visage.
https://media.allure.com
The Art of Contouring: Defining Your Features Contouring involves using makeup products to create shadows and define the natural structure of your face. It's about enhancing the dimensions of your face, giving the illusion of more defined cheekbones, a slimmer nose, and a sculpted jawline. Choosing the Right Products: Opt for matte contour products that are a few shades darker than your natural skin tone. Avoid overly warm or orange-toned shades.
Mapping Your Contour Areas: Cheekbones: Suck in your cheeks to locate the hollows beneath your cheekbones. Apply contour product along this area. Jawline: Apply contour along the jawline to add definition and create the illusion of a more sculpted jaw. Nose: Apply contour product along the sides of the nose to create the appearance of a slimmer bridge. 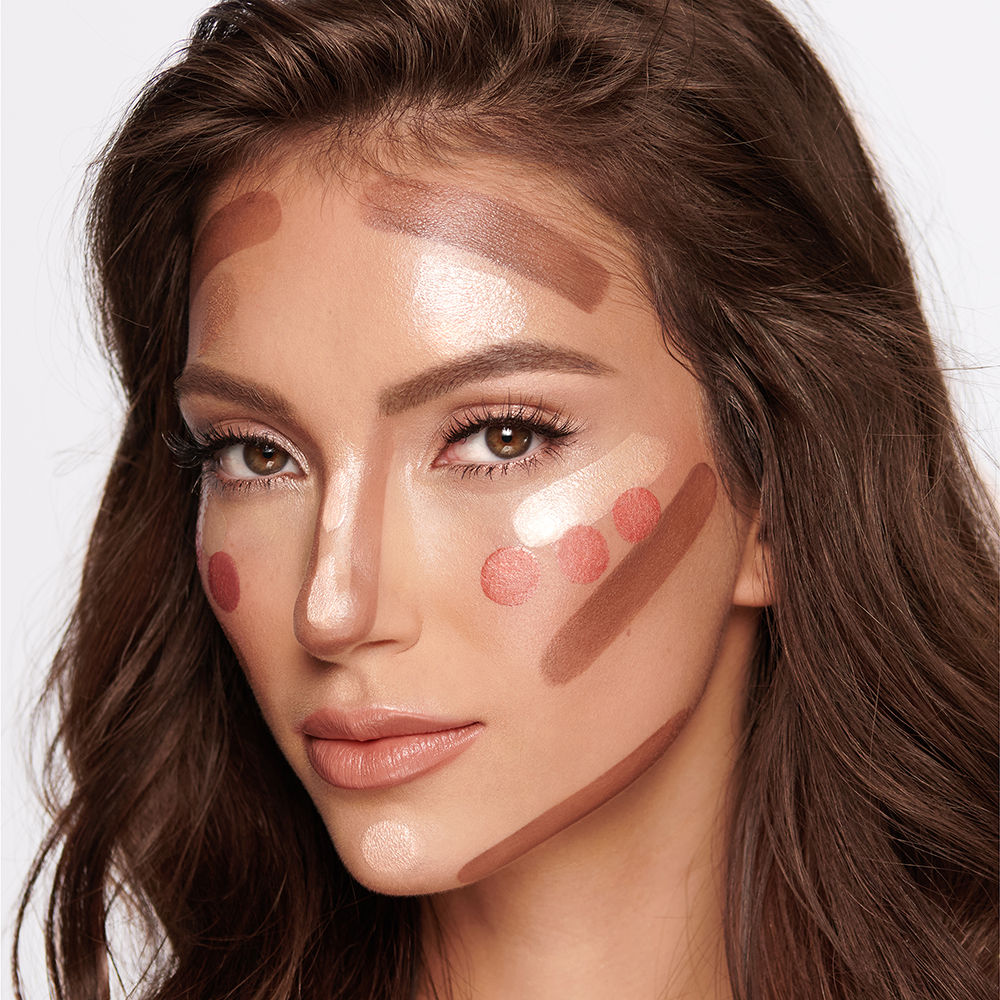
https://images.lifestyleasia.com
Blending is Key: Use a blending brush or makeup sponge to seamlessly blend the contour product into your skin. Harsh lines should be avoided for a natural look. Less is More: Start with a small amount of product and build up the intensity gradually. It's easier to add more than to remove excess product. Setting Your Contour: Use a translucent setting powder to lock in your contour and ensure it lasts all day. The Art of Highlighting: Bringing Forward Your Features Highlighting involves using products to bring light and attention to specific areas of your face, enhancing your natural glow and radiance. 
https://beautyinsider.sg
Choosing the Right Products: Opt for highlighters that complement your skin tone. Champagne and rose gold tones work well for most skin types. Key Highlight Areas: Cheekbones: Apply highlighter to the highest point of your cheekbones to accentuate their prominence. Brow Bone: Apply a small amount of highlighter just beneath your eyebrows to add brightness and lift to your eyes. Bridge of the Nose: Apply a tiny amount down the center of your nose for a subtle, elongated look. Cupid's Bow: Highlighting this area accentuates your lip shape and adds a touch of radiance. 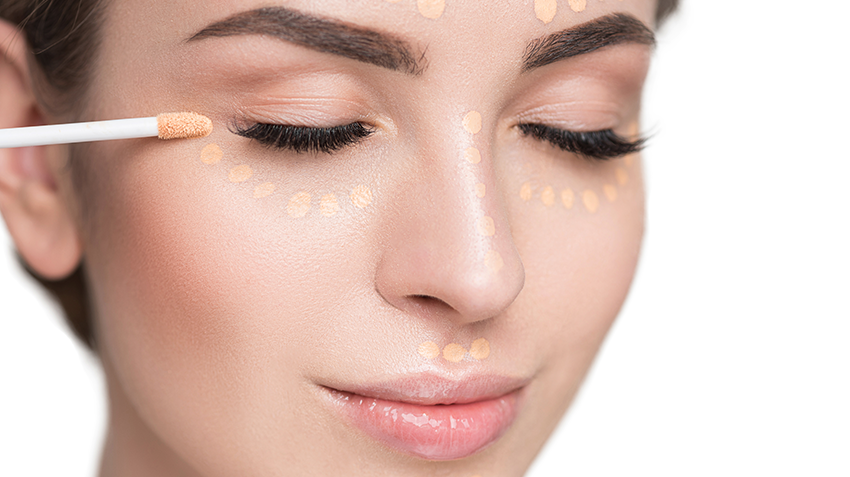
https://www.foreo.com
Blend, but with Precision: While blending is essential, be precise with your application to ensure the highlight falls exactly where you want it. Intensity Control: If you prefer a subtle glow, use a light hand and a less intense highlighter. For a more intense look, you can build up the product. Cream vs. Powder: Cream highlighters provide a more natural, dewy finish, while powder highlighters offer a more intense, shimmery effect. Choose based on your desired look. Balancing Contour and Highlight
Blend, Blend, Blend: After applying both contour and highlight, take a moment to blend to ensure a seamless transition between the two. 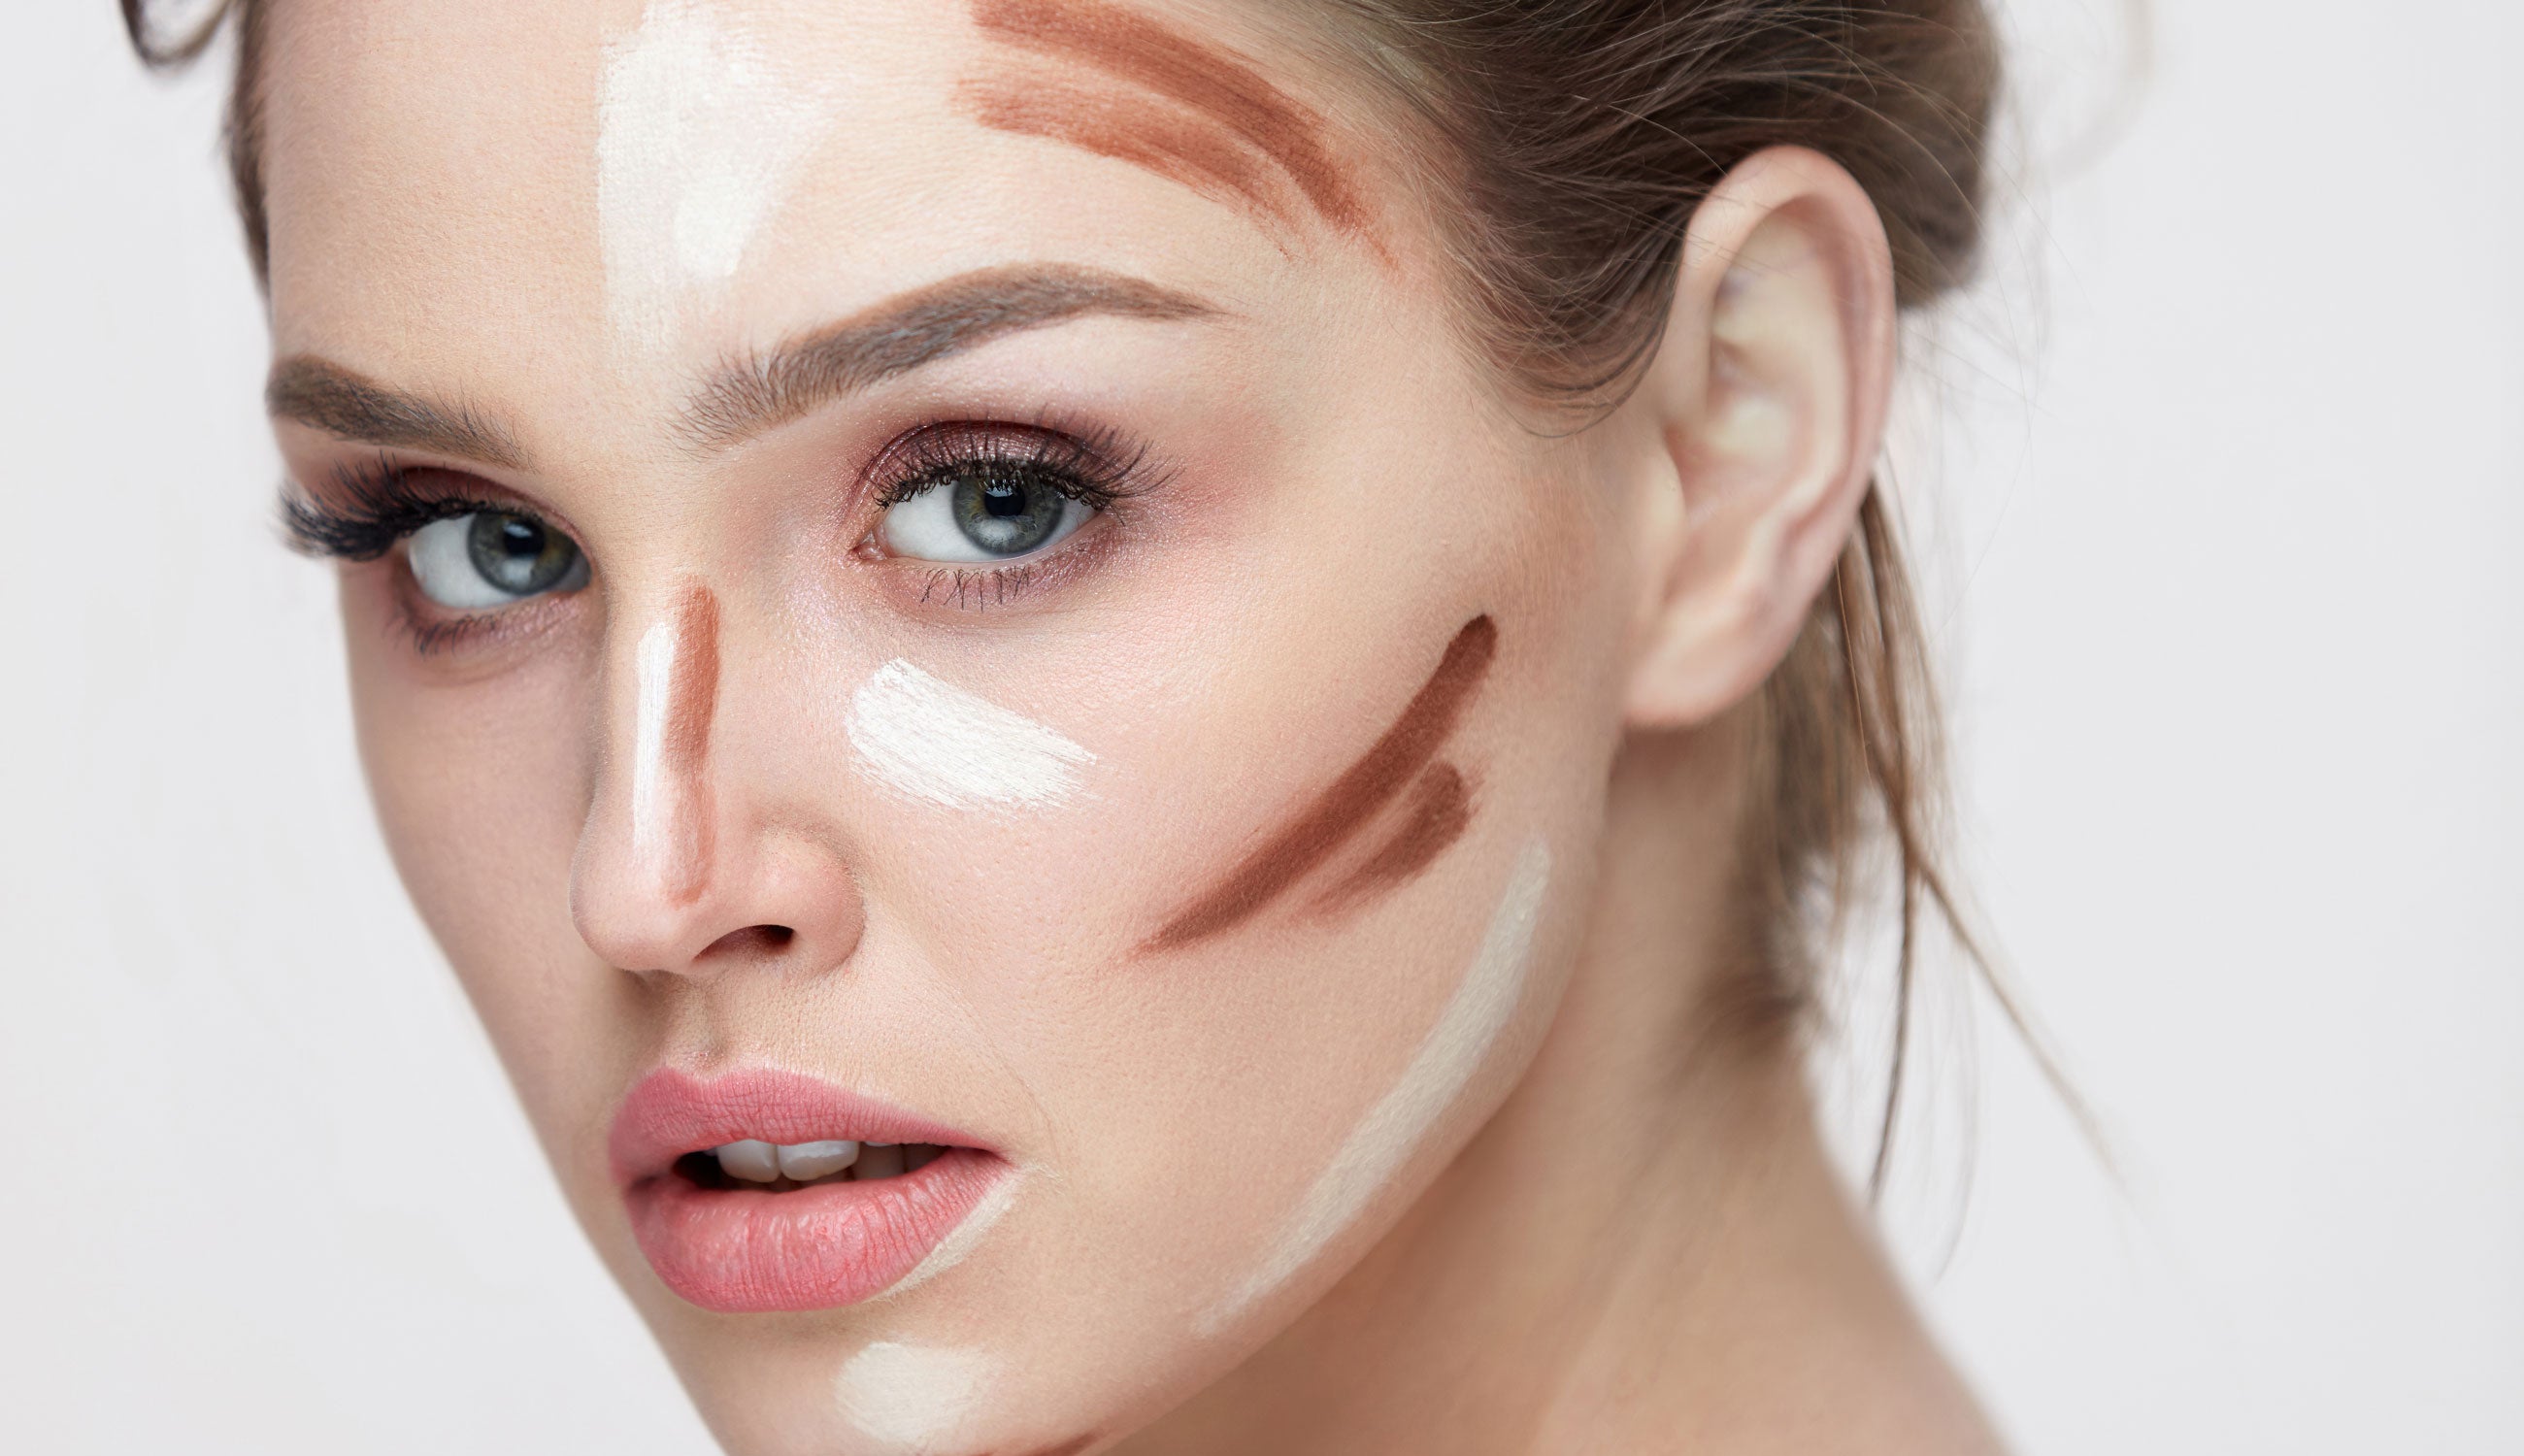
https://cdn.shopify.com
Natural Light Test: Before finalizing your look, step into natural light to ensure your contour and highlight appear balanced and flattering. Setting Spray for Longevity: Finish your makeup with a setting spray to lock in your look and ensure it lasts all day. Conclusion
Facial contouring and highlighting are transformative techniques that can enhance your natural beauty and give you a sculpted, radiant look. With practice and the right products, you can confidently master this art of facial alchemy. Remember, it's not about conforming to a standard of beauty, but about celebrating your unique features and expressing your personal style. So, embrace your inner artist and let your natural beauty shine through!
0 Comments
Leave a Reply. |

Categories
Categories
All
|
 RSS Feed